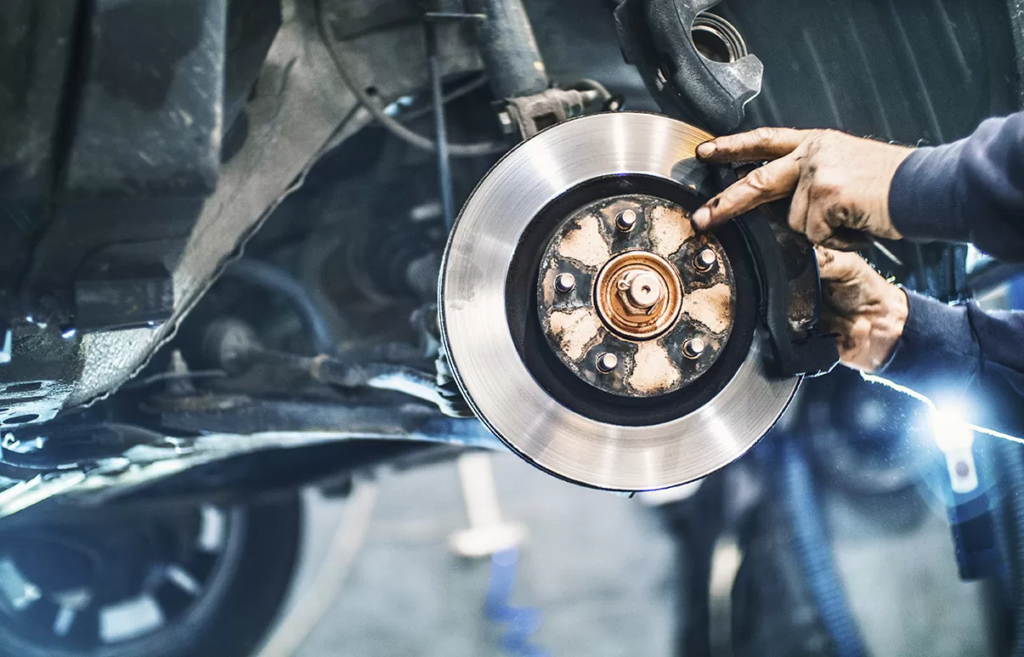
Properly maintaining your car’s braking system is crucial for safety and performance. Over time, air can enter the brake lines, leading to a spongy pedal feel and reduced braking efficiency. Bleeding your brakes removes this air and ensures optimal braking performance. Follow this step-by-step guide to bleed your brakes effectively.

Tools and Materials Needed
- Brake fluid (refer to your vehicle’s manual for the correct type)
- A wrench (typically 8mm or 10mm, depending on your vehicle)
- A clear plastic tube
- A catch bottle
- Jack and jack stands
- A friend or brake bleeder tool
- Safety gloves and goggles
Step-by-Step Guide
1. Prepare Your Vehicle
Park your car on a level surface and engage the parking brake. If necessary, use a jack to lift the car and secure it with jack stands. Remove the wheels to access the brake calipers.
2. Check Brake Fluid Level
Before you start, check the brake fluid reservoir under the hood and top it off if needed. Always use the correct type of brake fluid specified by your manufacturer.
3. Locate the Bleeder Valve
Each brake caliper has a small bleeder valve, usually covered by a rubber cap. Start with the brake farthest from the master cylinder (typically the rear passenger side) and work your way closer.
4. Attach the Bleeder Hose
Attach one end of the clear plastic hose to the bleeder valve and place the other end into a catch bottle filled with a small amount of brake fluid. This prevents air from being sucked back into the system.
5. Pump and Bleed
Have a friend press the brake pedal slowly several times and hold it down. While they hold the pedal, use a wrench to open the bleeder valve slightly. You should see air bubbles and fluid coming out through the hose. Close the valve before your friend releases the pedal. Repeat until no air bubbles appear in the fluid.
6. Repeat for All Wheels
Move to the next brake, following this order:
- Rear passenger side
- Rear driver side
- Front passenger side
- Front driver side
Bleed each brake until the fluid runs clear and bubble-free.
7. Refill Brake Fluid
Check the brake fluid reservoir and top it off as needed. Do not let it run dry during the bleeding process.
8. Test Your Brakes
Before driving, press the brake pedal several times to ensure it feels firm. If the pedal is still spongy, repeat the bleeding process. Also, don’t forget that new brake pads ensure your vehicle stops safely and effectively.
When to Consider Further Maintenance
If you notice uneven braking performance or your rotors appear worn, you might need a brake rotor replacement? Worn-out rotors can compromise braking efficiency, so inspect them regularly and replace them if necessary.
Bleeding your brakes is a simple yet essential maintenance task that can significantly improve your vehicle’s braking performance. With the right tools and careful execution, you can ensure a safer and more responsive braking system. If your brakes continue to feel off even after bleeding, consider seeking professional assistance to inspect the entire braking system.
Leave a Reply